DIY Campervan Conversion
This Project was to make an affordable van "Self Contained" to keep me charging through to the next adventure.
With tools at my disposal from a friends workshop, it would make this all possible.
A lot of TIME, RECYCLED PRODUCTS and THOUGHT was used in the making of this van.
1. The original body


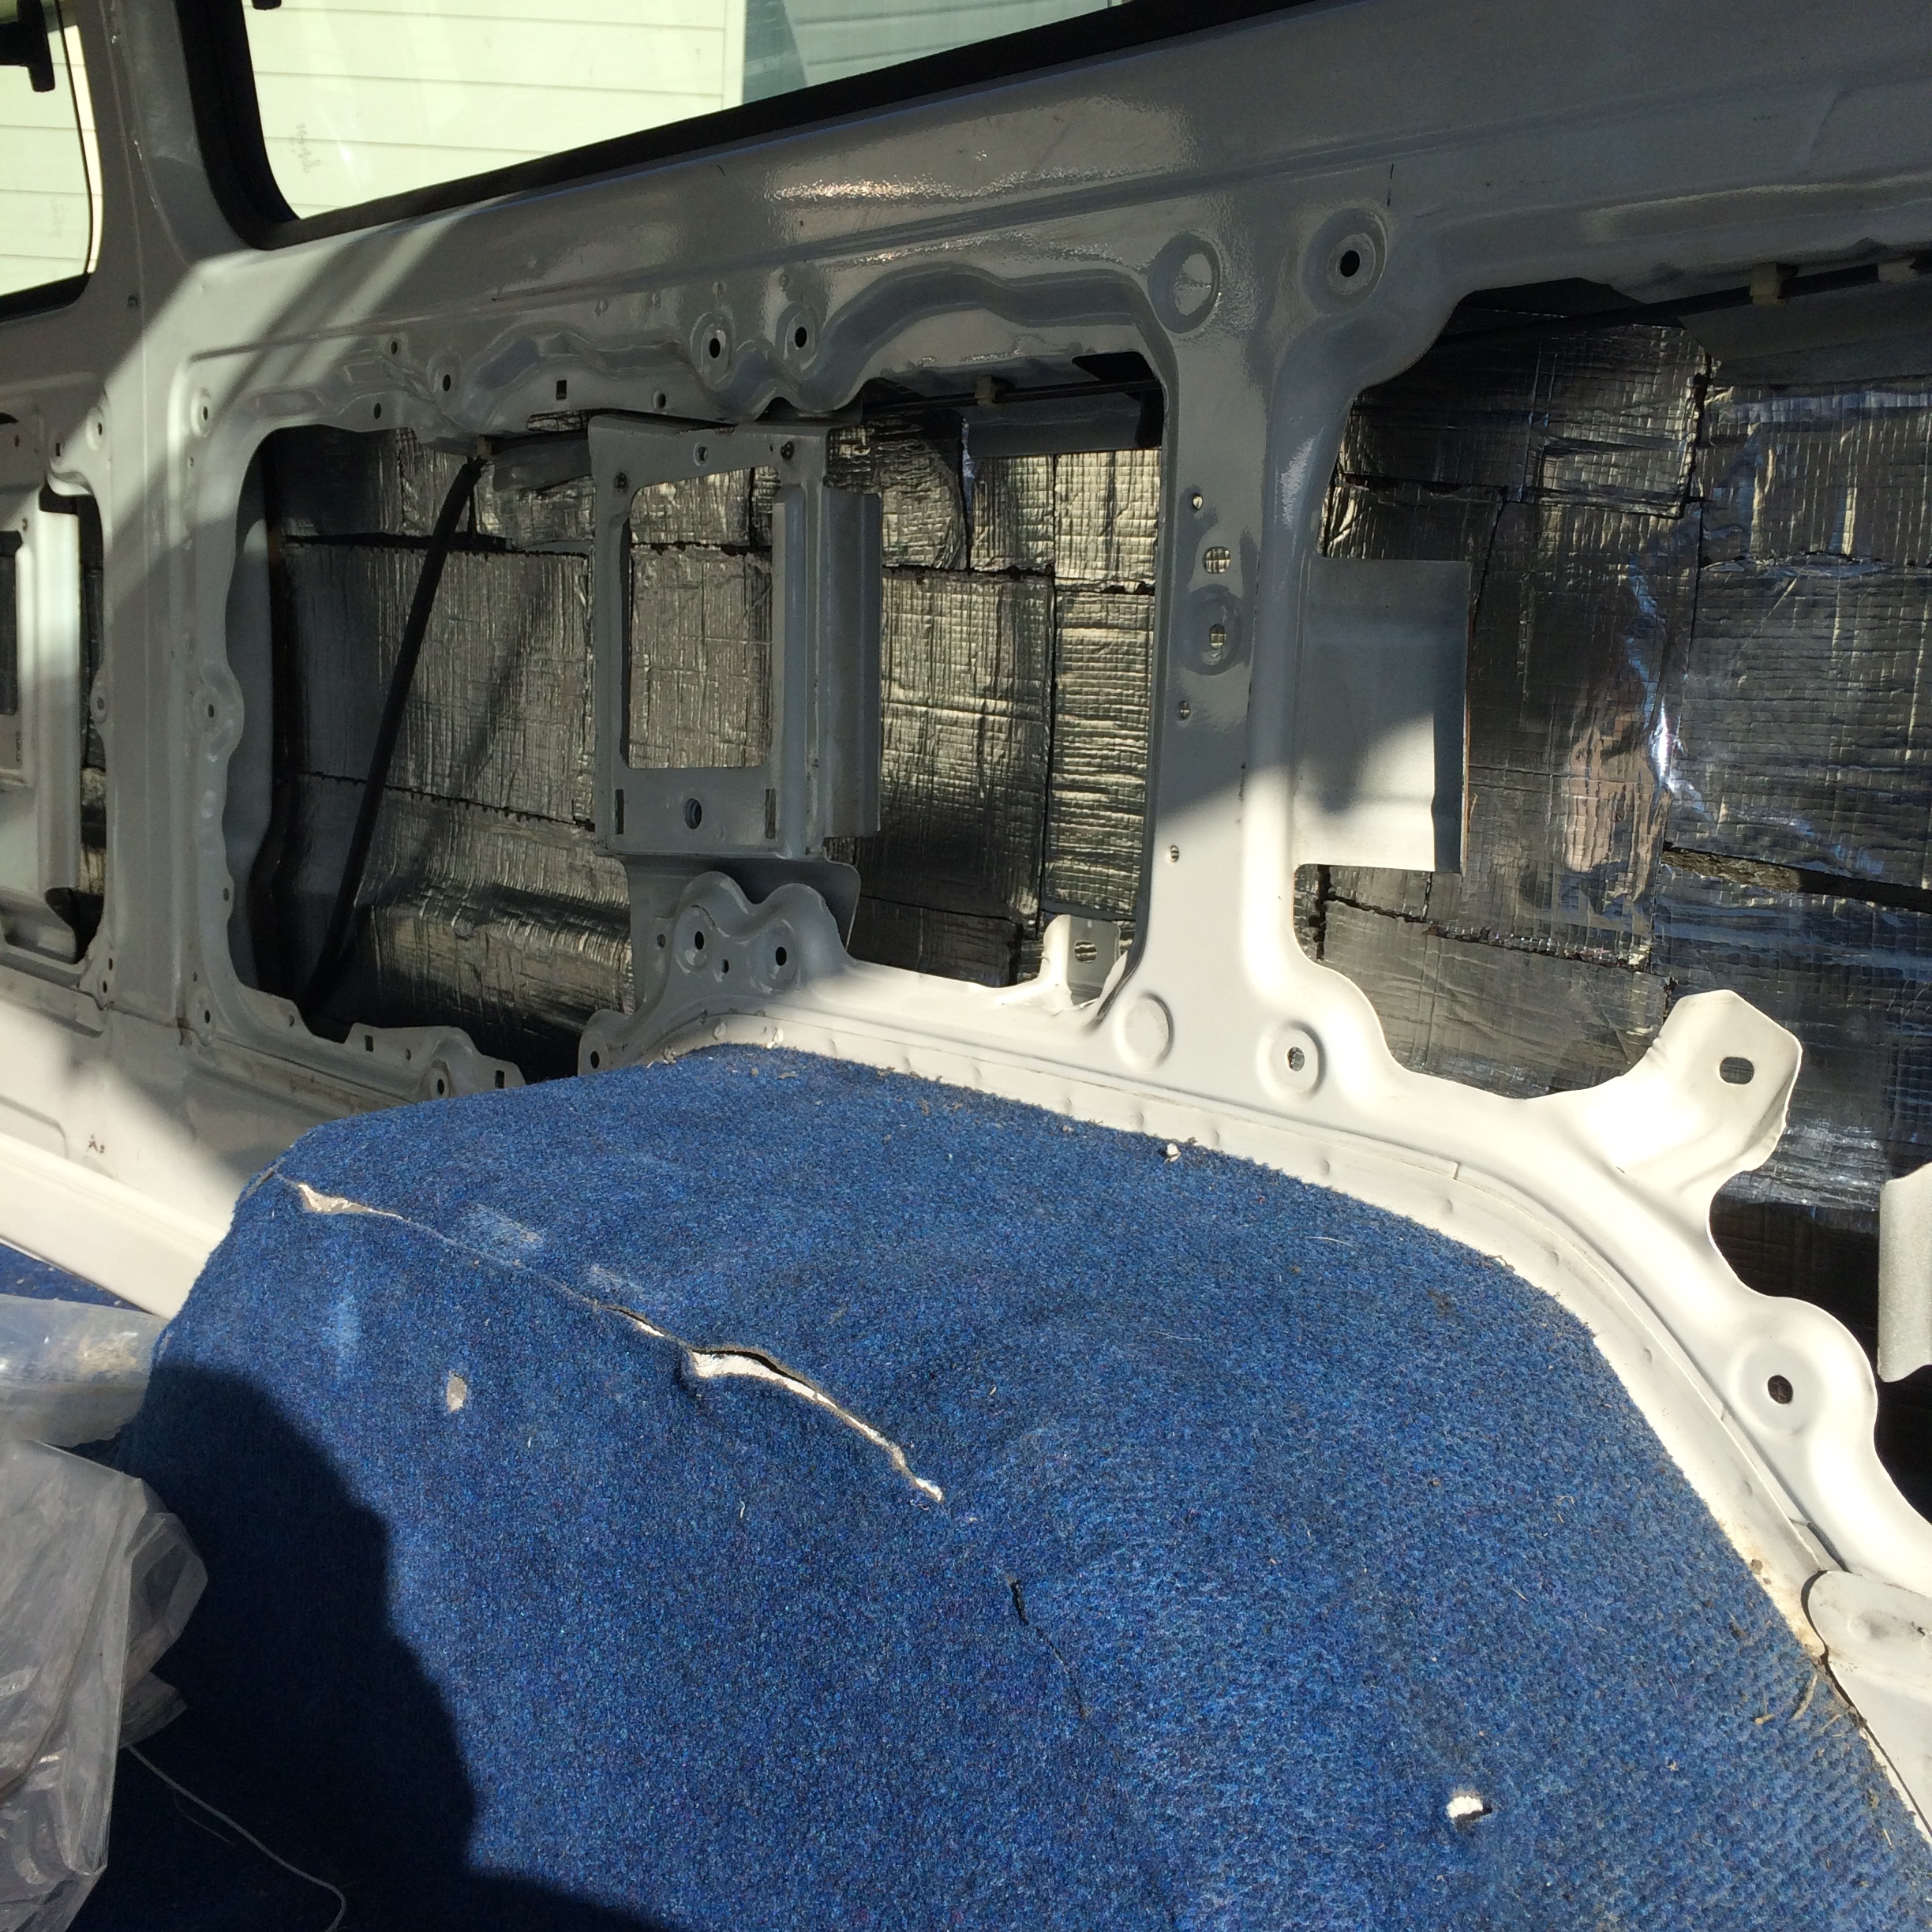
2. Sound proofing with sealed insulation
Using Roofing tape as a sound deadener and recycled carpet underlay. I made a strong barrier against vibrations, sound, cold and the summer heat.
It took some time getting every little bit covered but can definitely notice the difference now.
Step1: Clean thoroughly
Step 2: Cover panel walls with roofing tape (sound deadener)
Step 3: Fill inner panels with off-cut recycled form for insulation
Step 4: Plastic seal and taped over panels to keep out moisture




3.Flooring
This is essential for a solid and level base to build off. Adding a bit of insulation and a good look.
Step 1: Measure out and plan cuts accordingly
Step 2: Seal ply-wood to shell for no squeaks in the future
Step 3: Instal flooring of choice
To keep down on weight, I went with a vinyl planks with a dark wood finish.


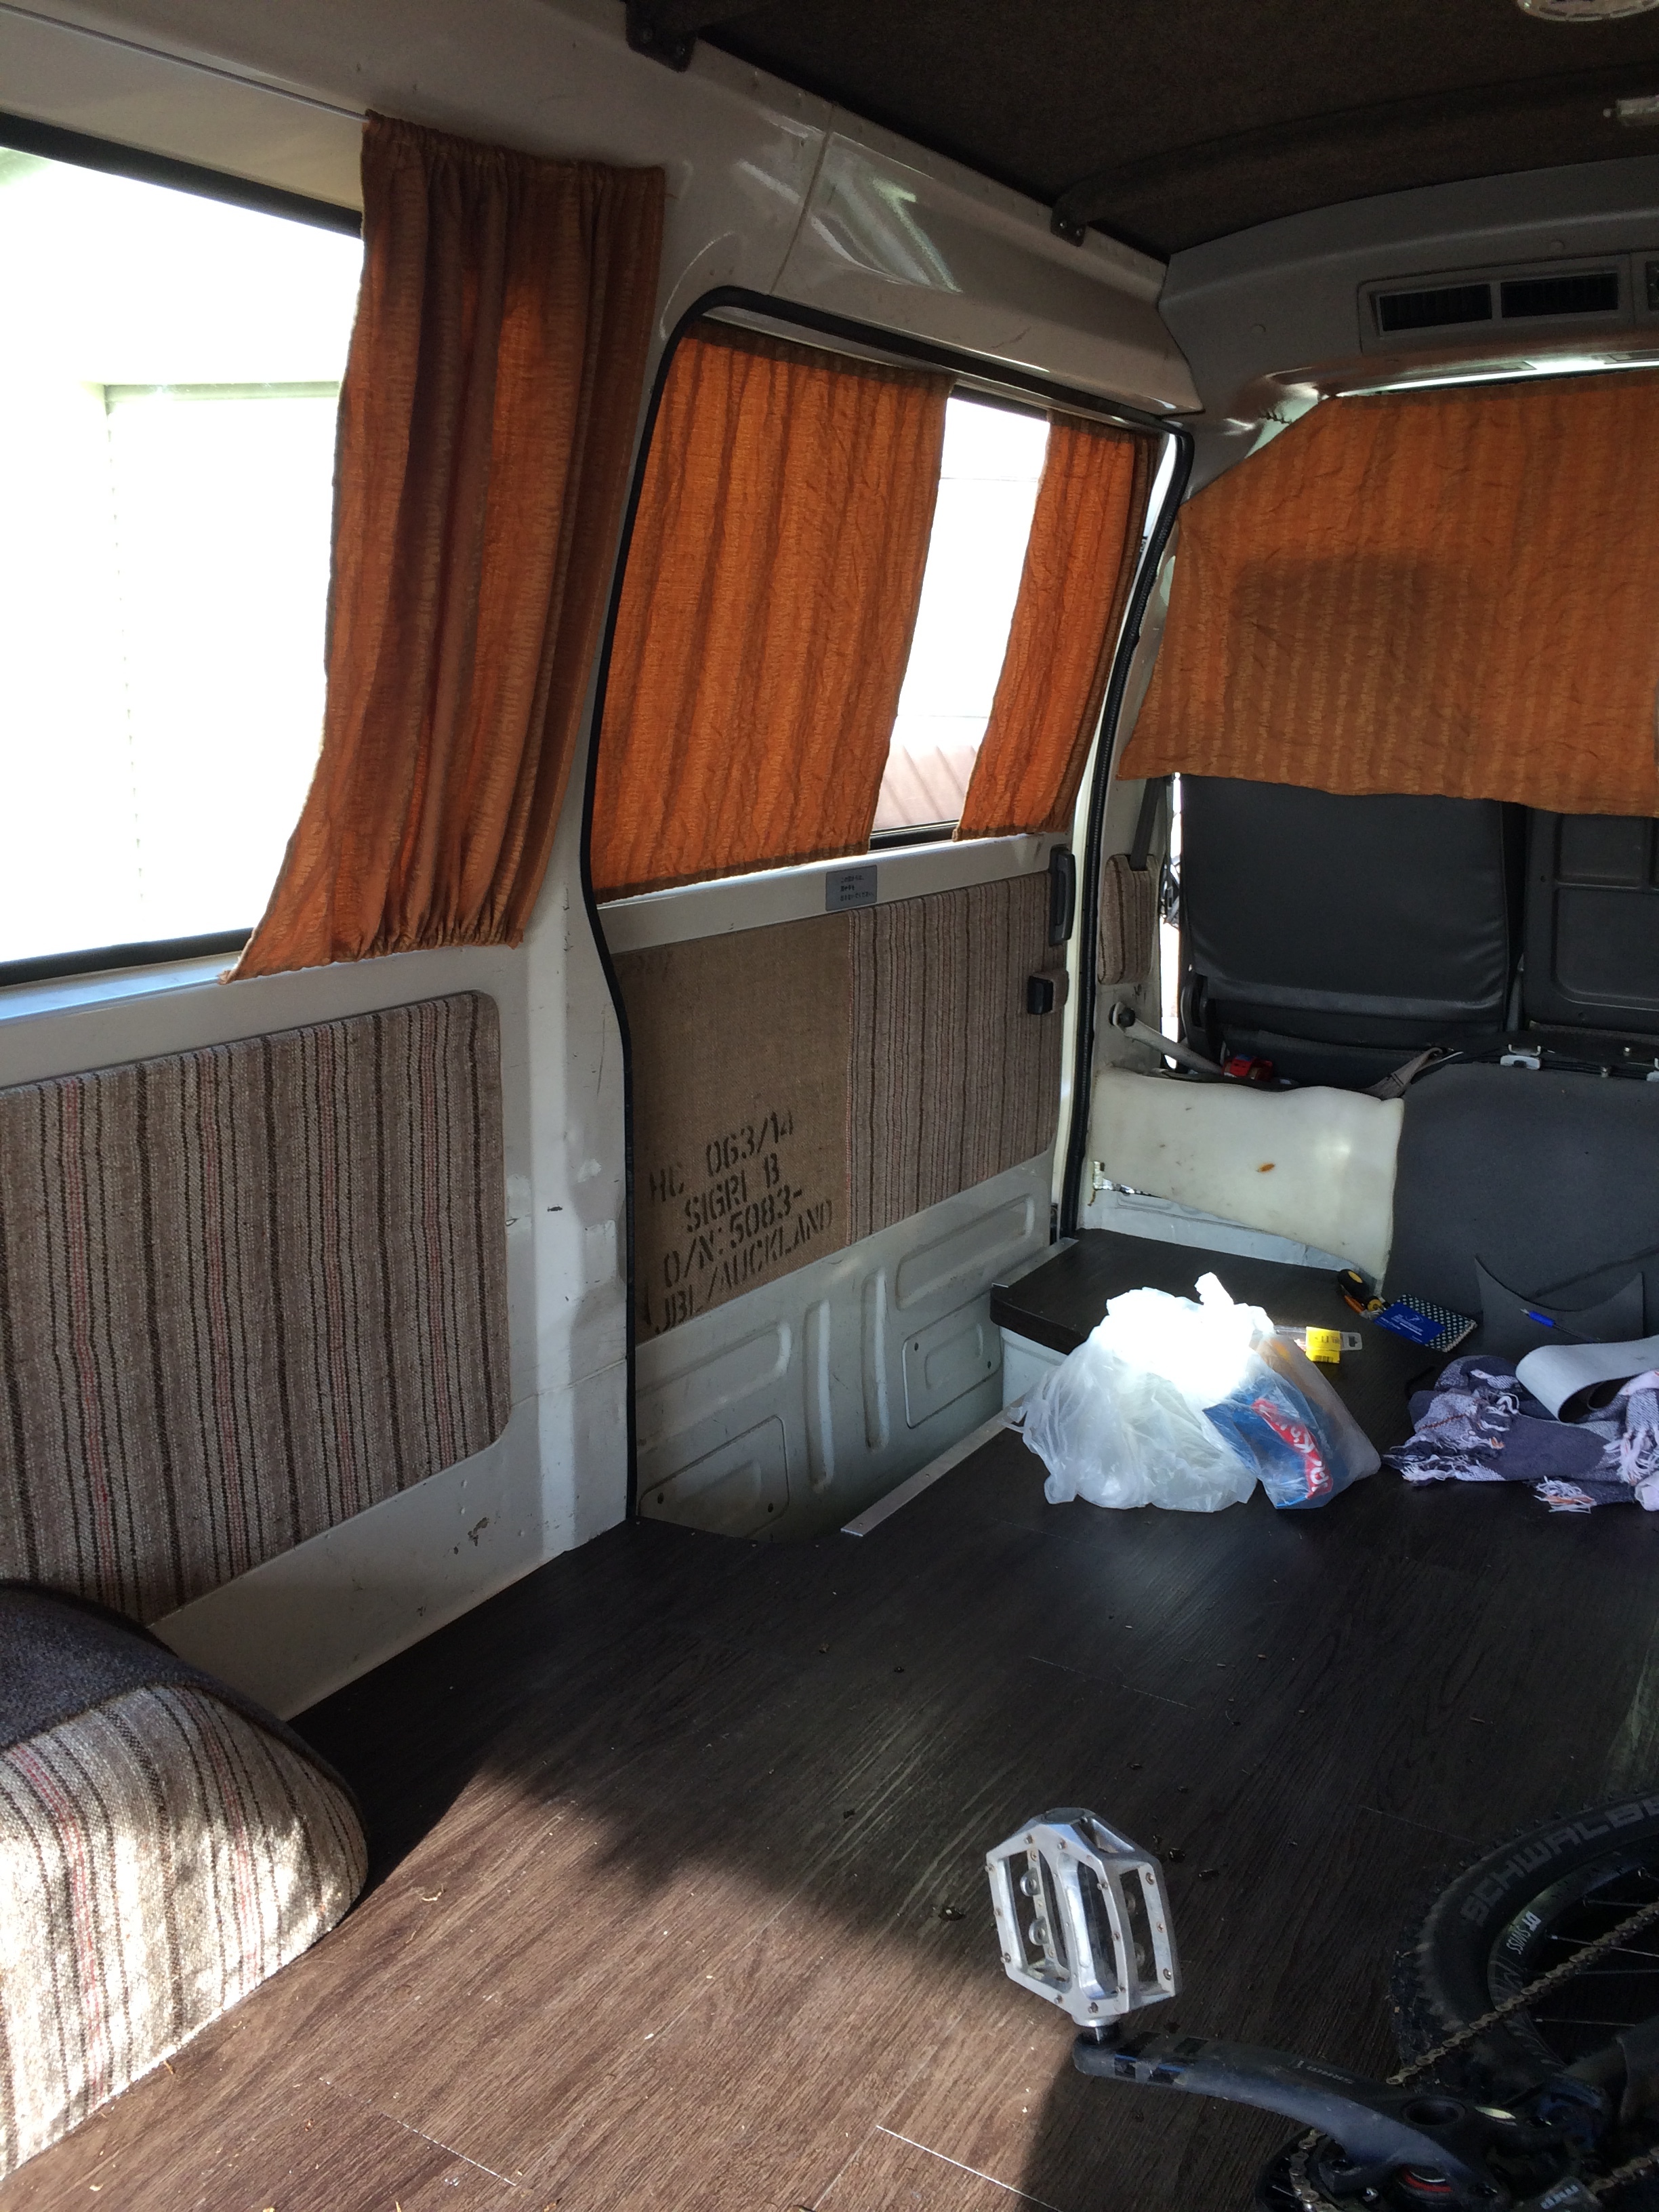
4. Upholstery
When you go this far, why not go all the way.
Took a few weeks to find the right recycled items and fabric for the build.
I went with a handful of raw coffee sacks and a bundle of fabric from the local thrift shop. Used some off cuts of dense entry carpet for the ceiling from a local shop as well. Small bit of leather on the armrests from a friends shop.
Step 1: Cleaned panels
Step 2: Sort out and lay material
Step 3: Materials----Compressed air glue gun, heat gun, razor blades, sheers, and tucking fabric/panel removal tools
Step 4: Patience and planning




5. Bed Frame
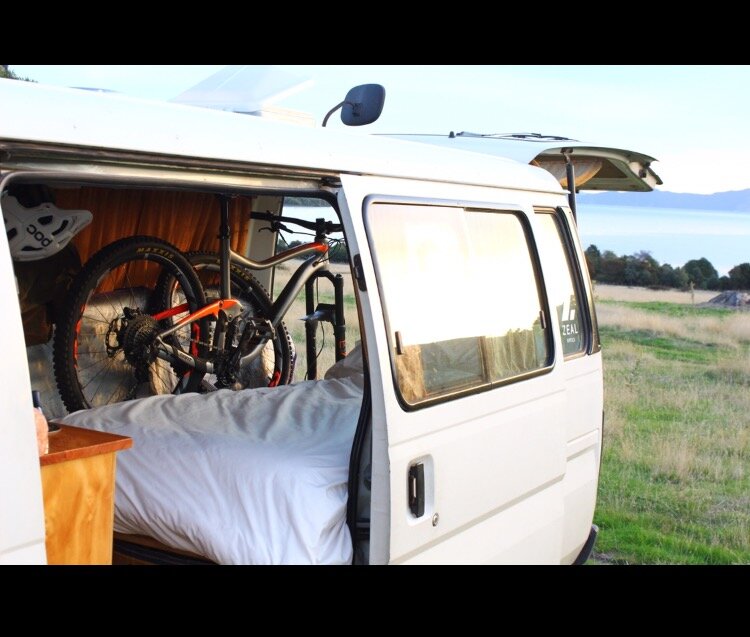
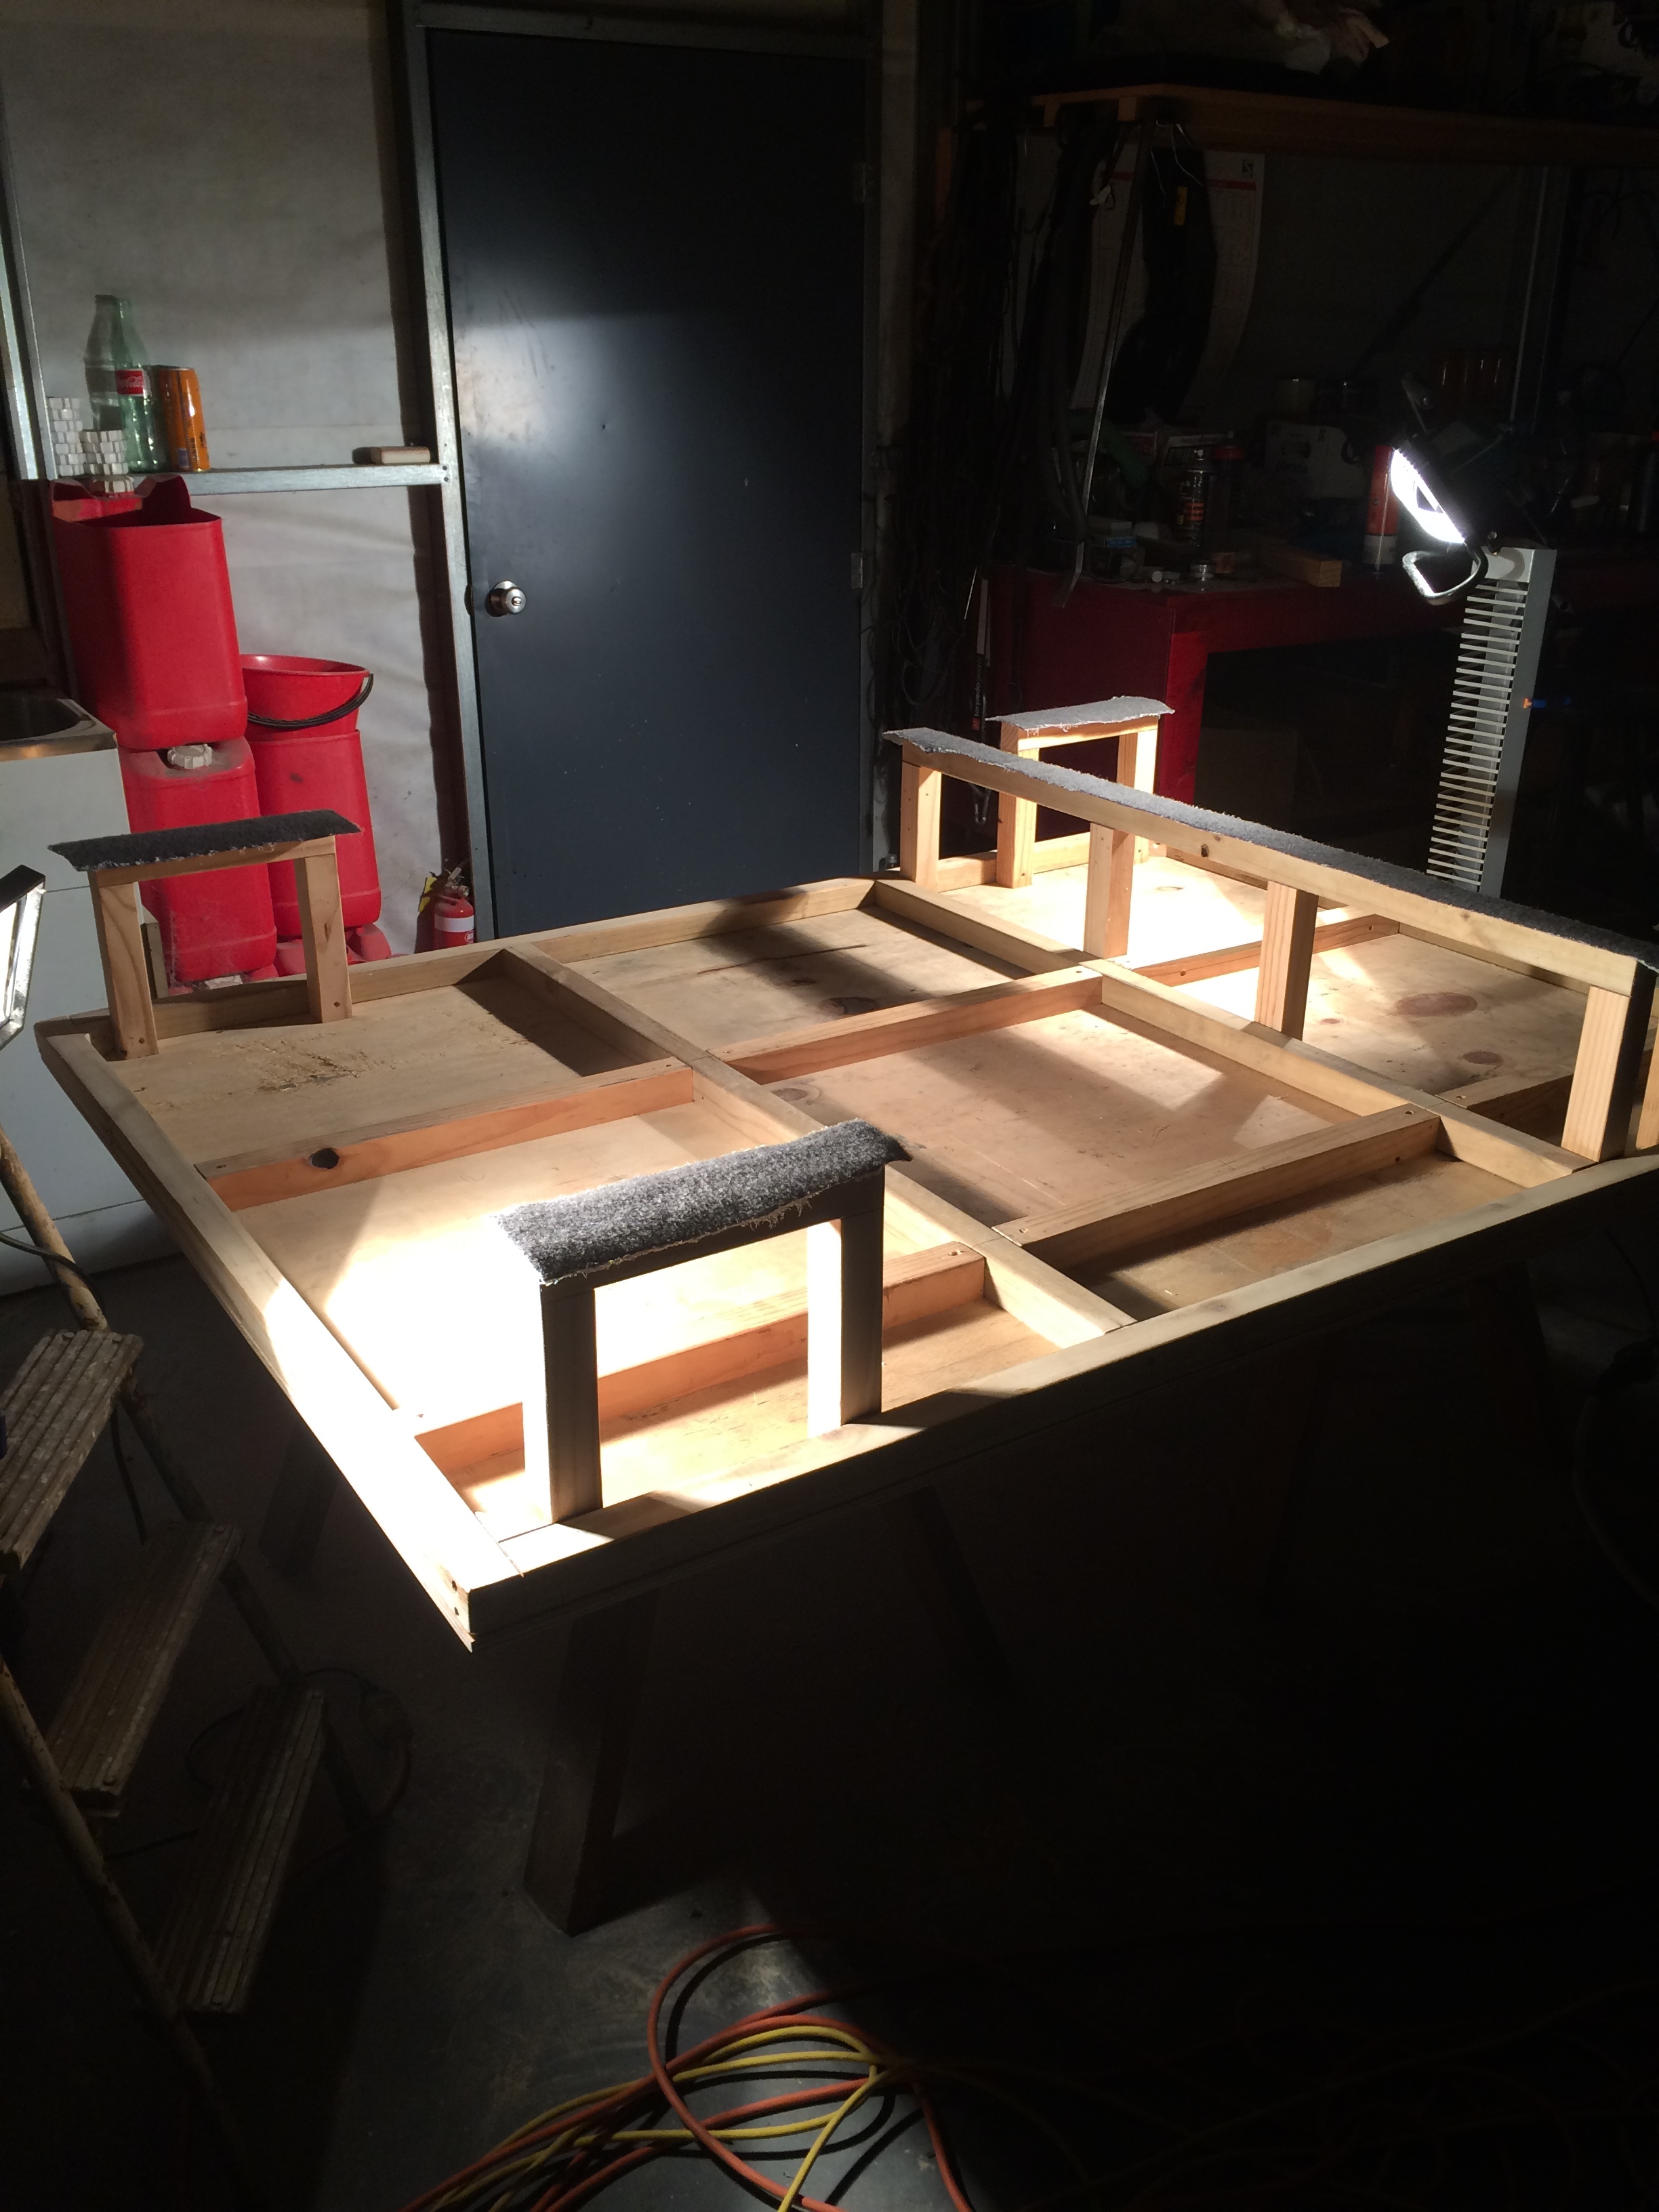
Didn't want to lose sight of what was most important from this campervan.. A good nights sleep! Decided to go with nearly a full size queen size bed frame I was going to construct from recycled lengths of wood from a local junkyard that I had access to. Had to wait a couple weeks for halfway decent un-warped wood to appear...
Worked out a lot of different designs and thought this would be best suited for me and my uses and NZ Self Containment restrictions.
Now the frame has the support of a rock concert stage as well as under storage necessary for a gypsy caravan.
Step 1: Measure, measure, and measure again
Step 2: Two sheets of non-structural ply and Twelve Meters of recycled 2x2
Step 3: Use your still to get it together and pre-drill and pre-sink your entry points
Step 4: Wood glue and screw to keep the bond strong as iron
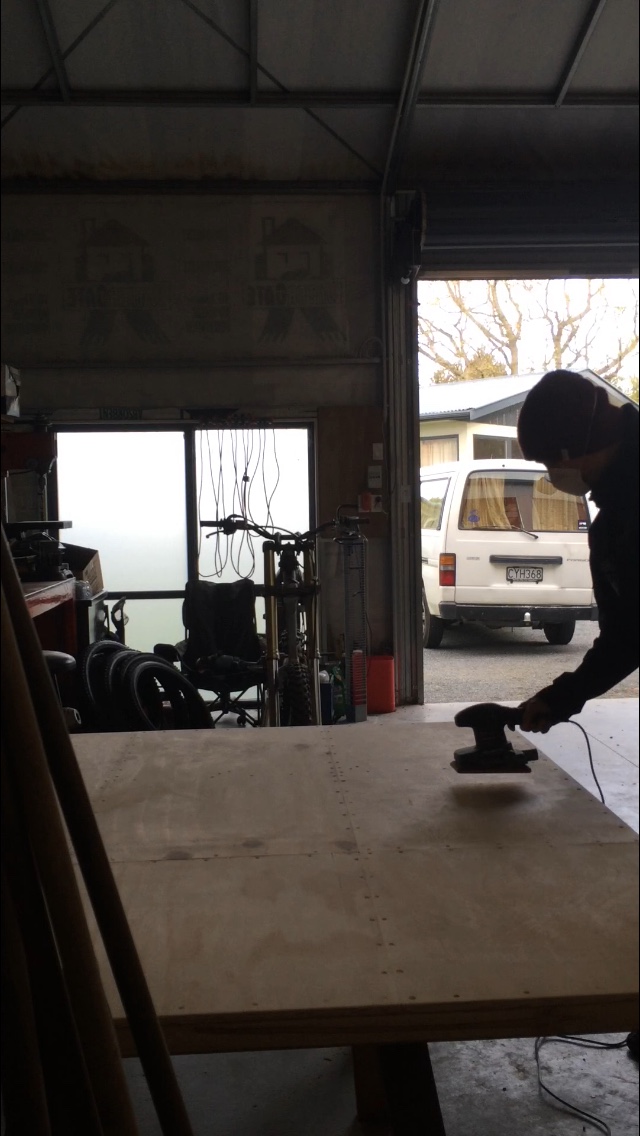
Step 5: Sand the hell out of it
Step 6: There are many more steps but you get the idea..



6. Kitchen
This would have to be a highly constructed, well engineered piece of wood.
After many, many, many drawings, I started coming around with the right shape and widths / measurements to incorporate my recycled products.
Recycled main bits
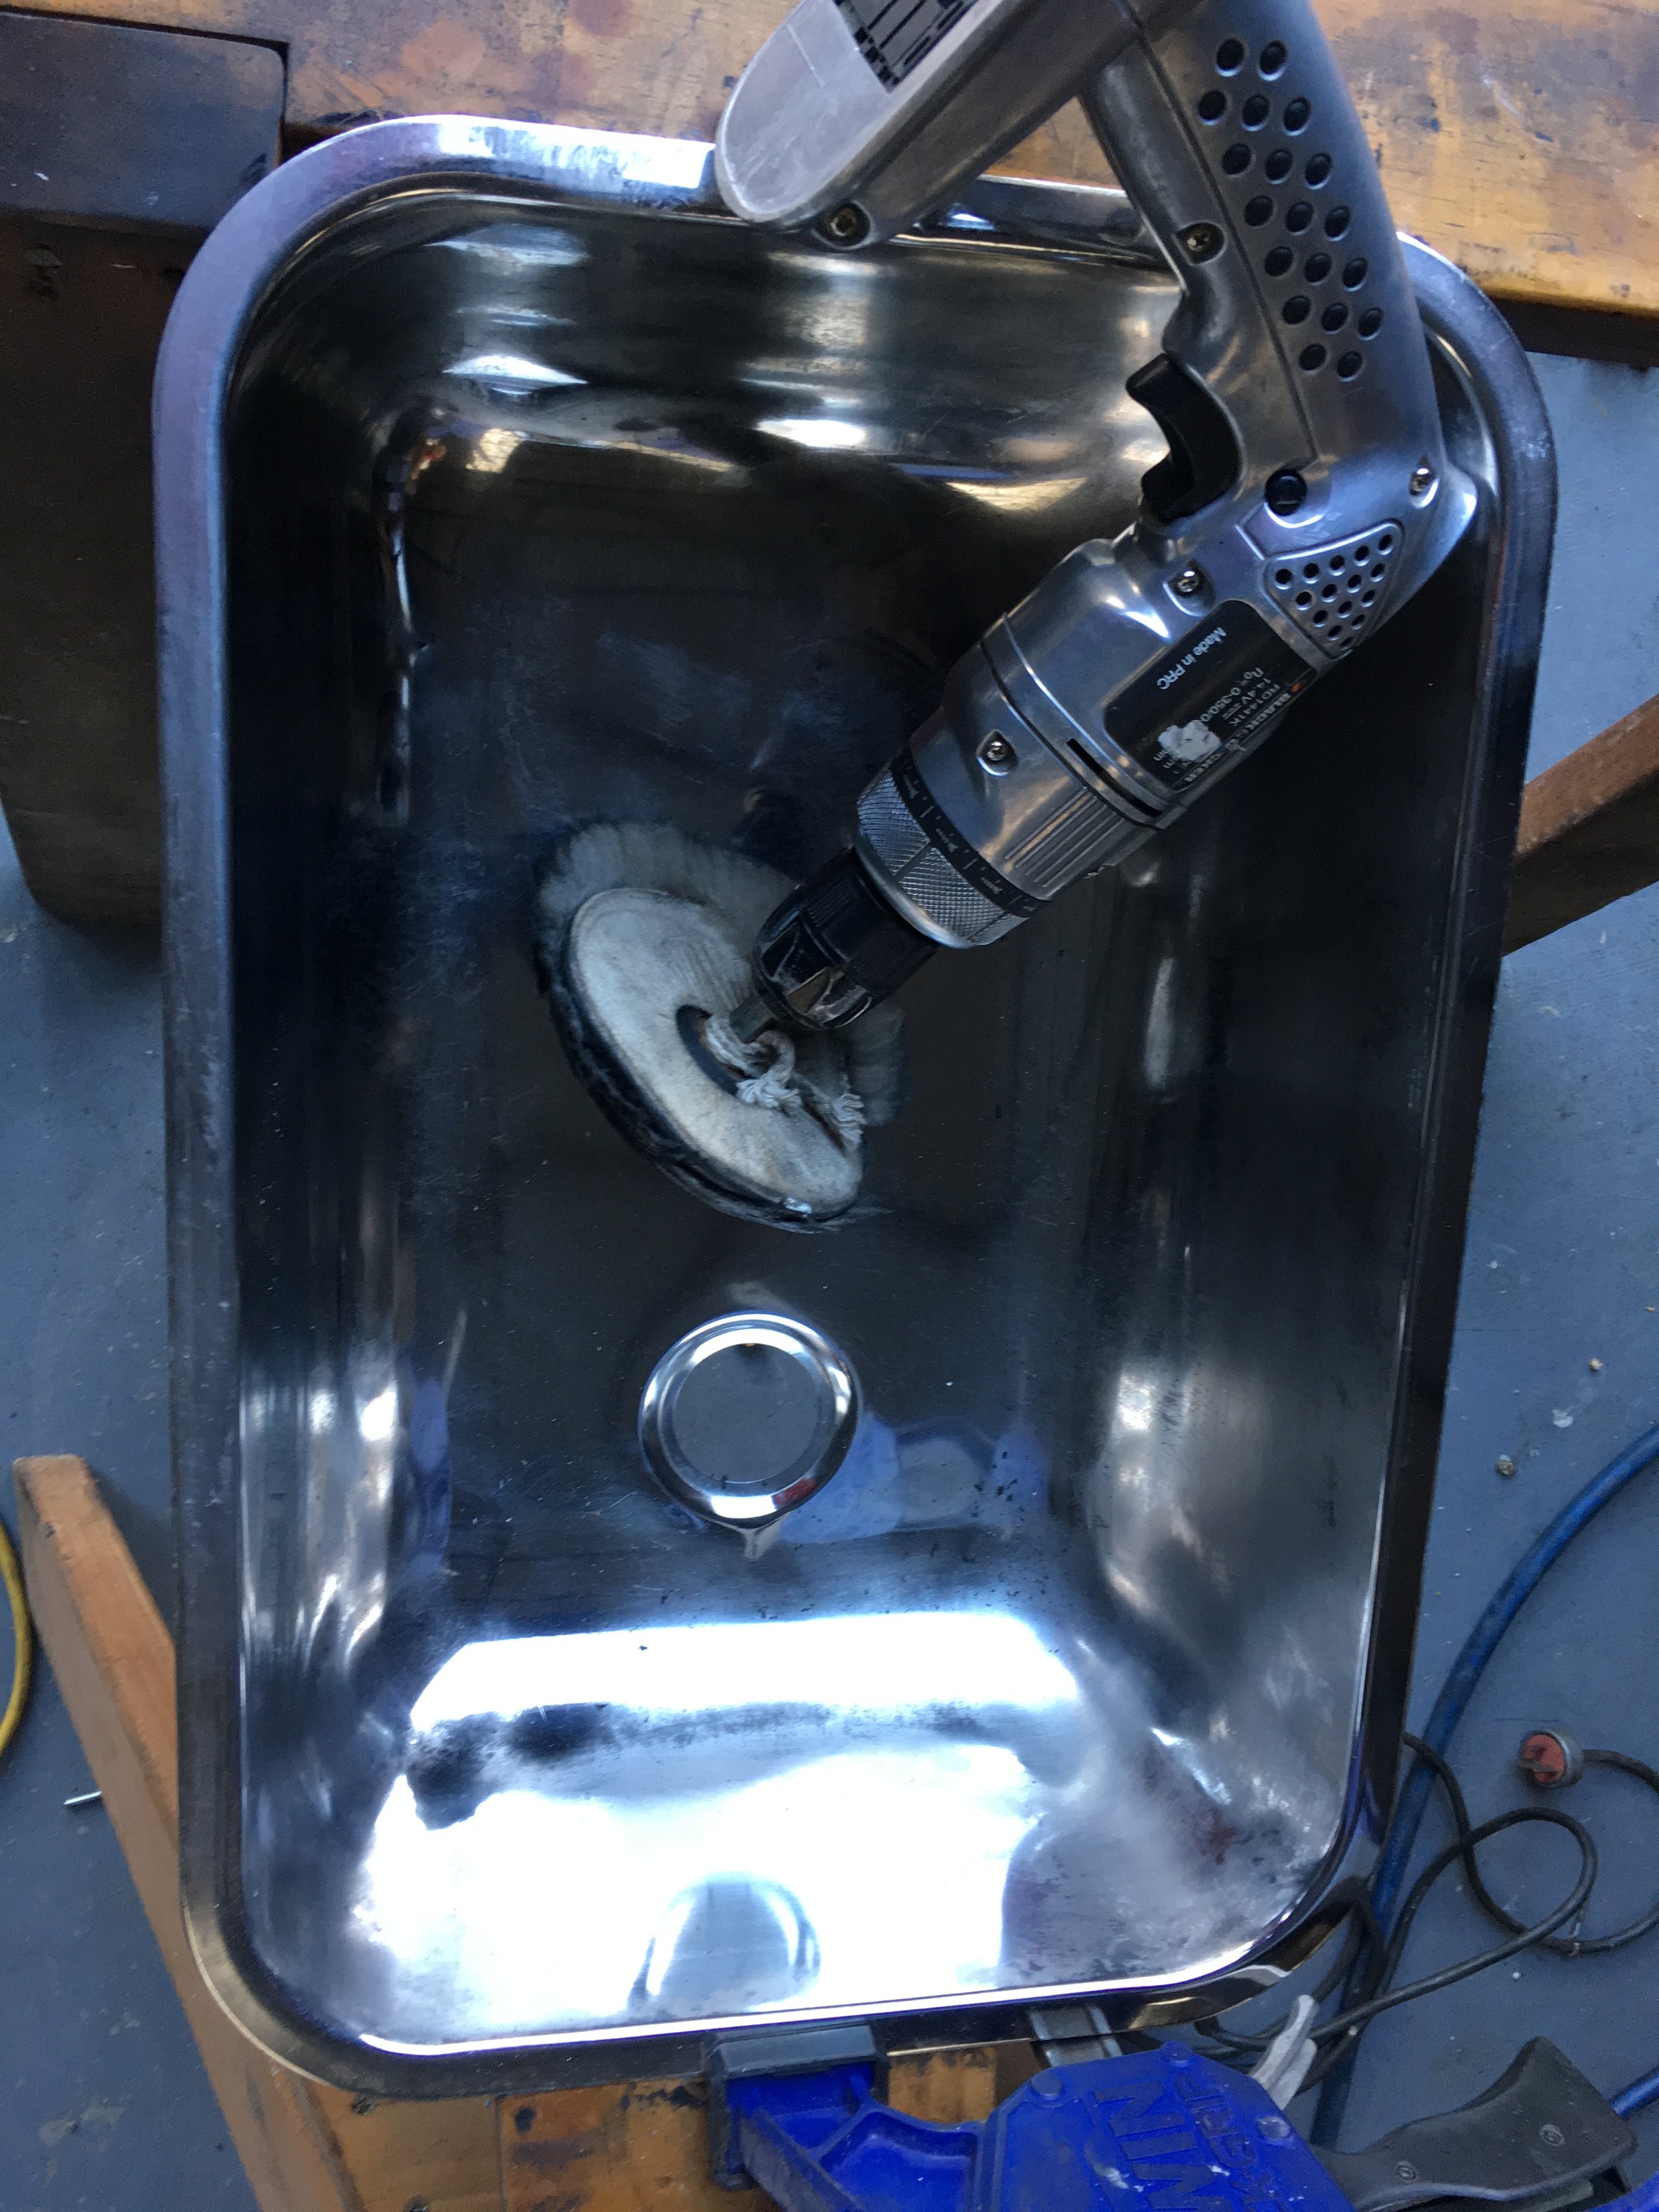
Sink Basin
Macrocarpa Bench Top
Two shipping palets
Had to buy 2 sheets of 12mm ply
15 doles for bench top
Wood oil
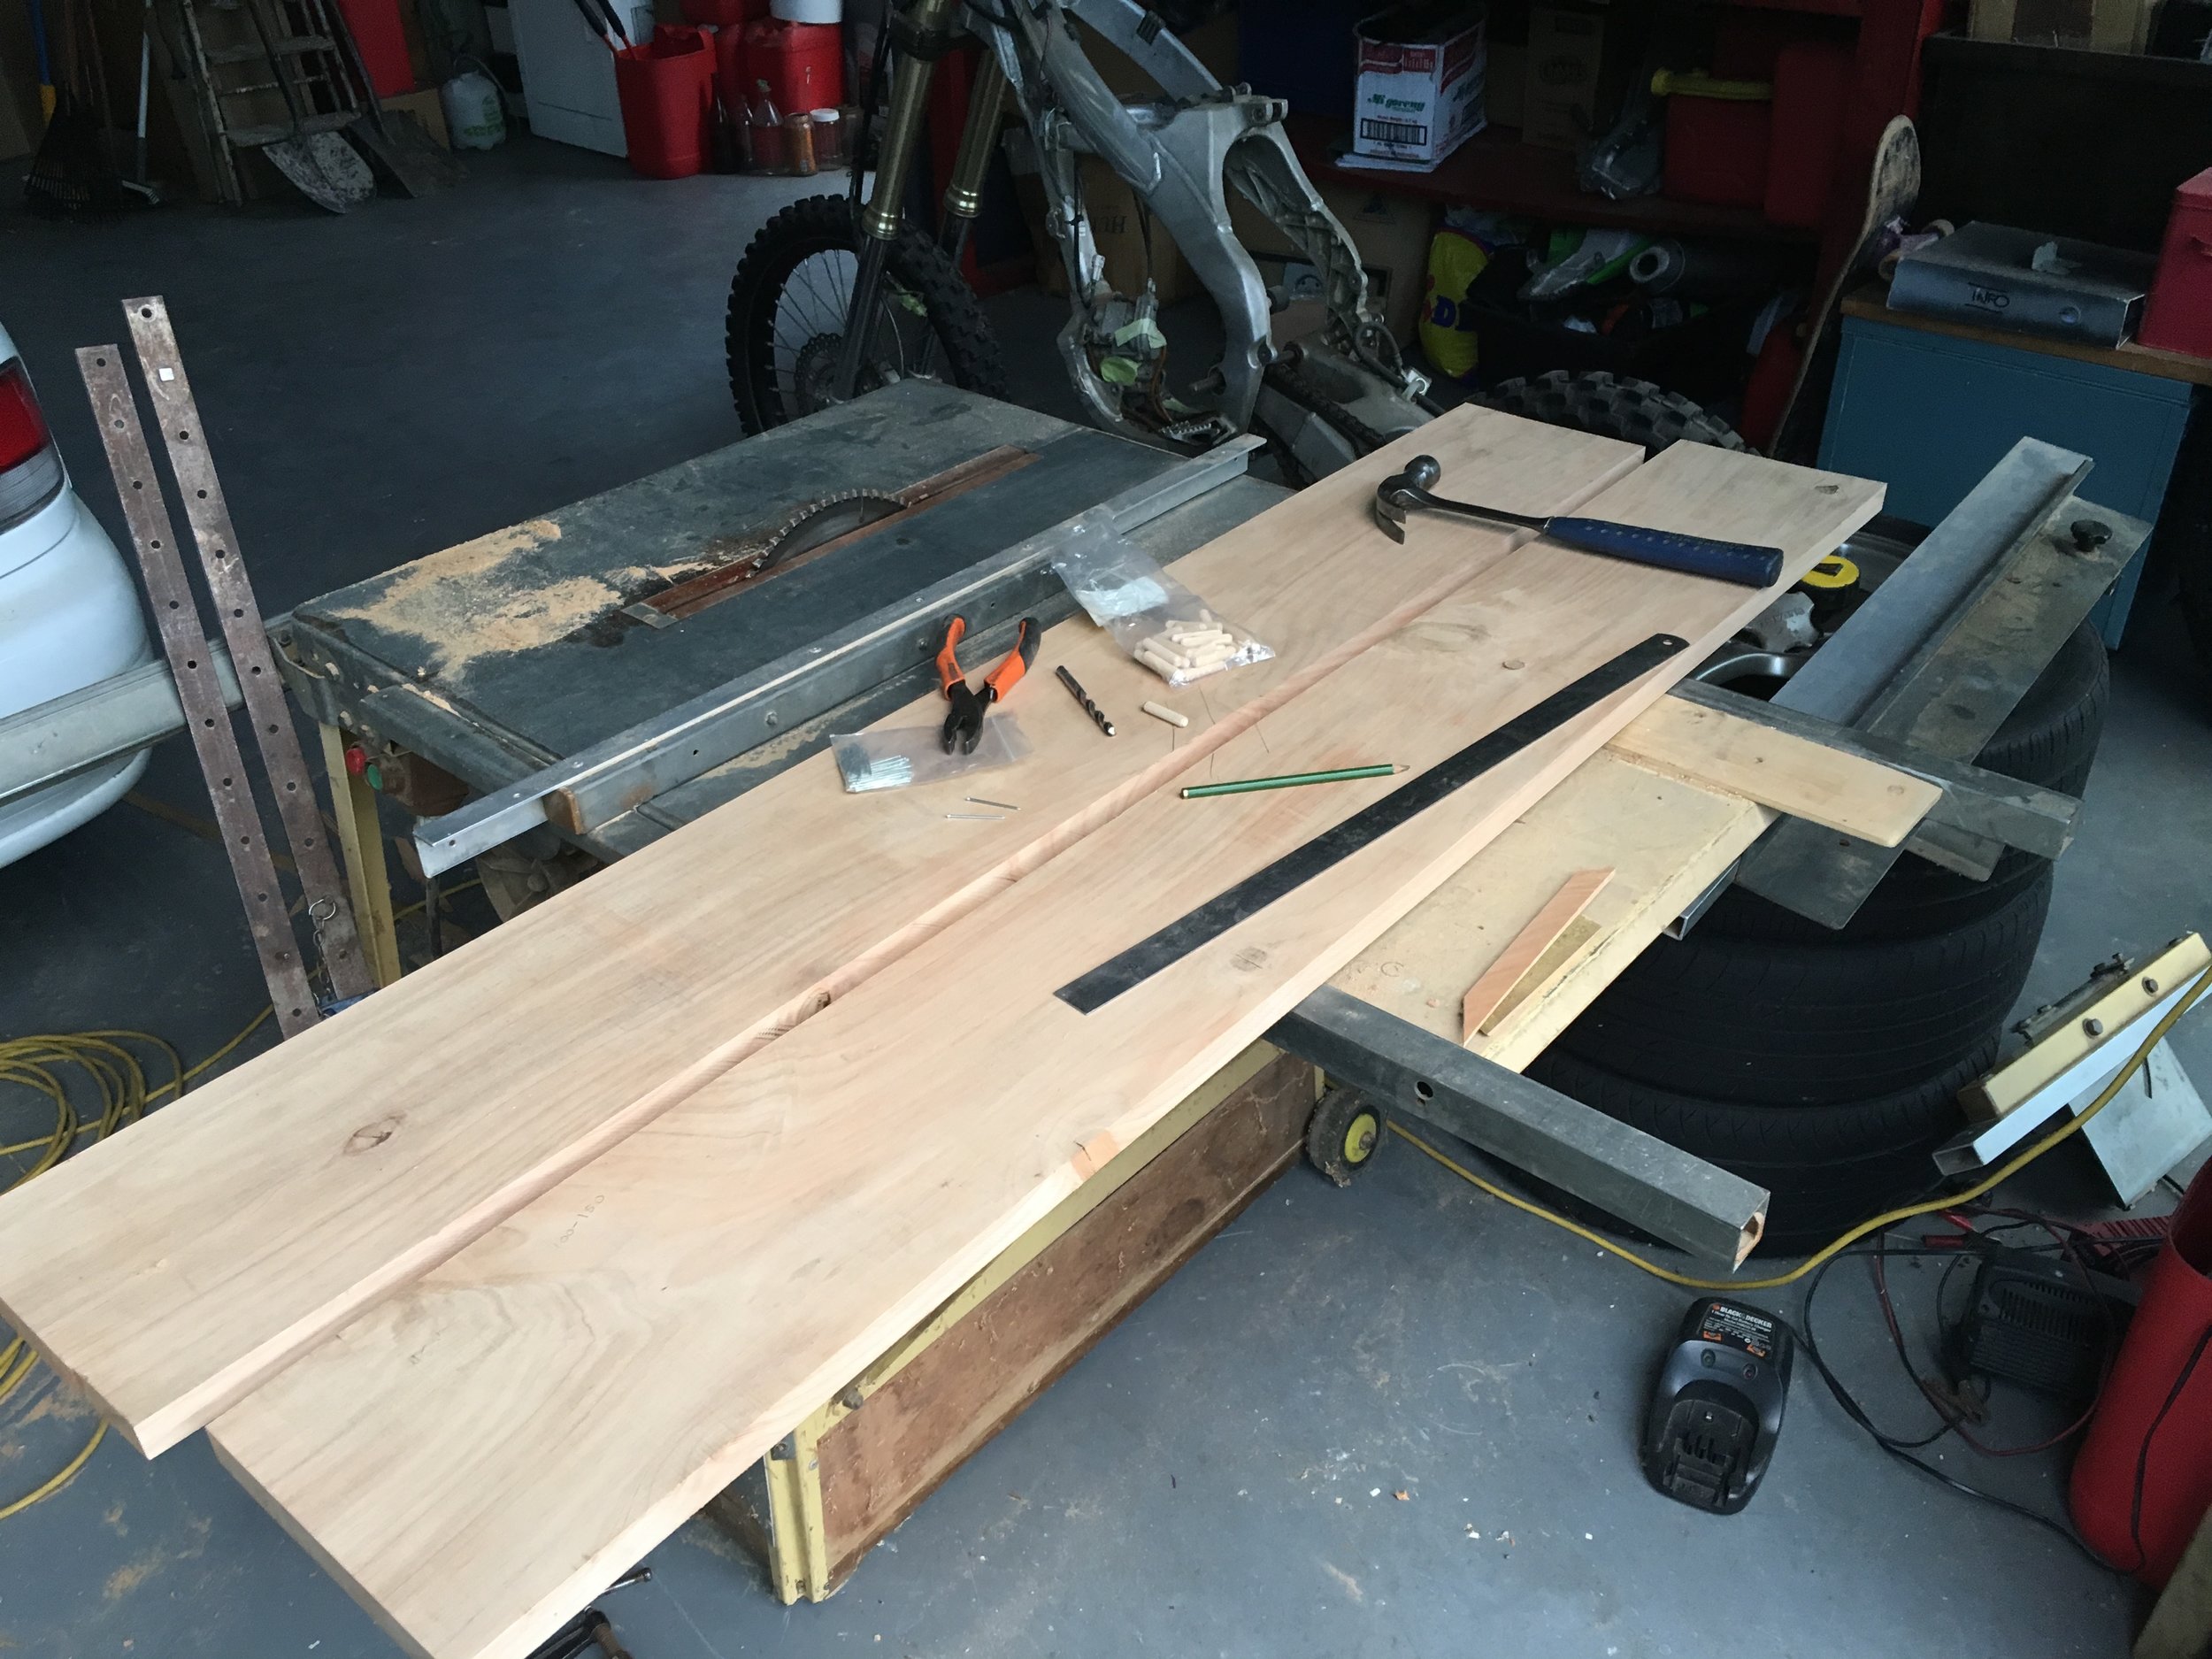
This was the main part of my build and was everything I was looking forward to. It took just shy of 3 months working most nights every week after work from 7-10 pm. Learned soo many lessons and if I were to do it again. Would be able to do it again in half the time lol.
Step 1: Cannot stress this measuring part!
Step 2: Prep- sink and sand the 2 year weathered Macrocarpa
Step 3: Cut Ply front and rear section
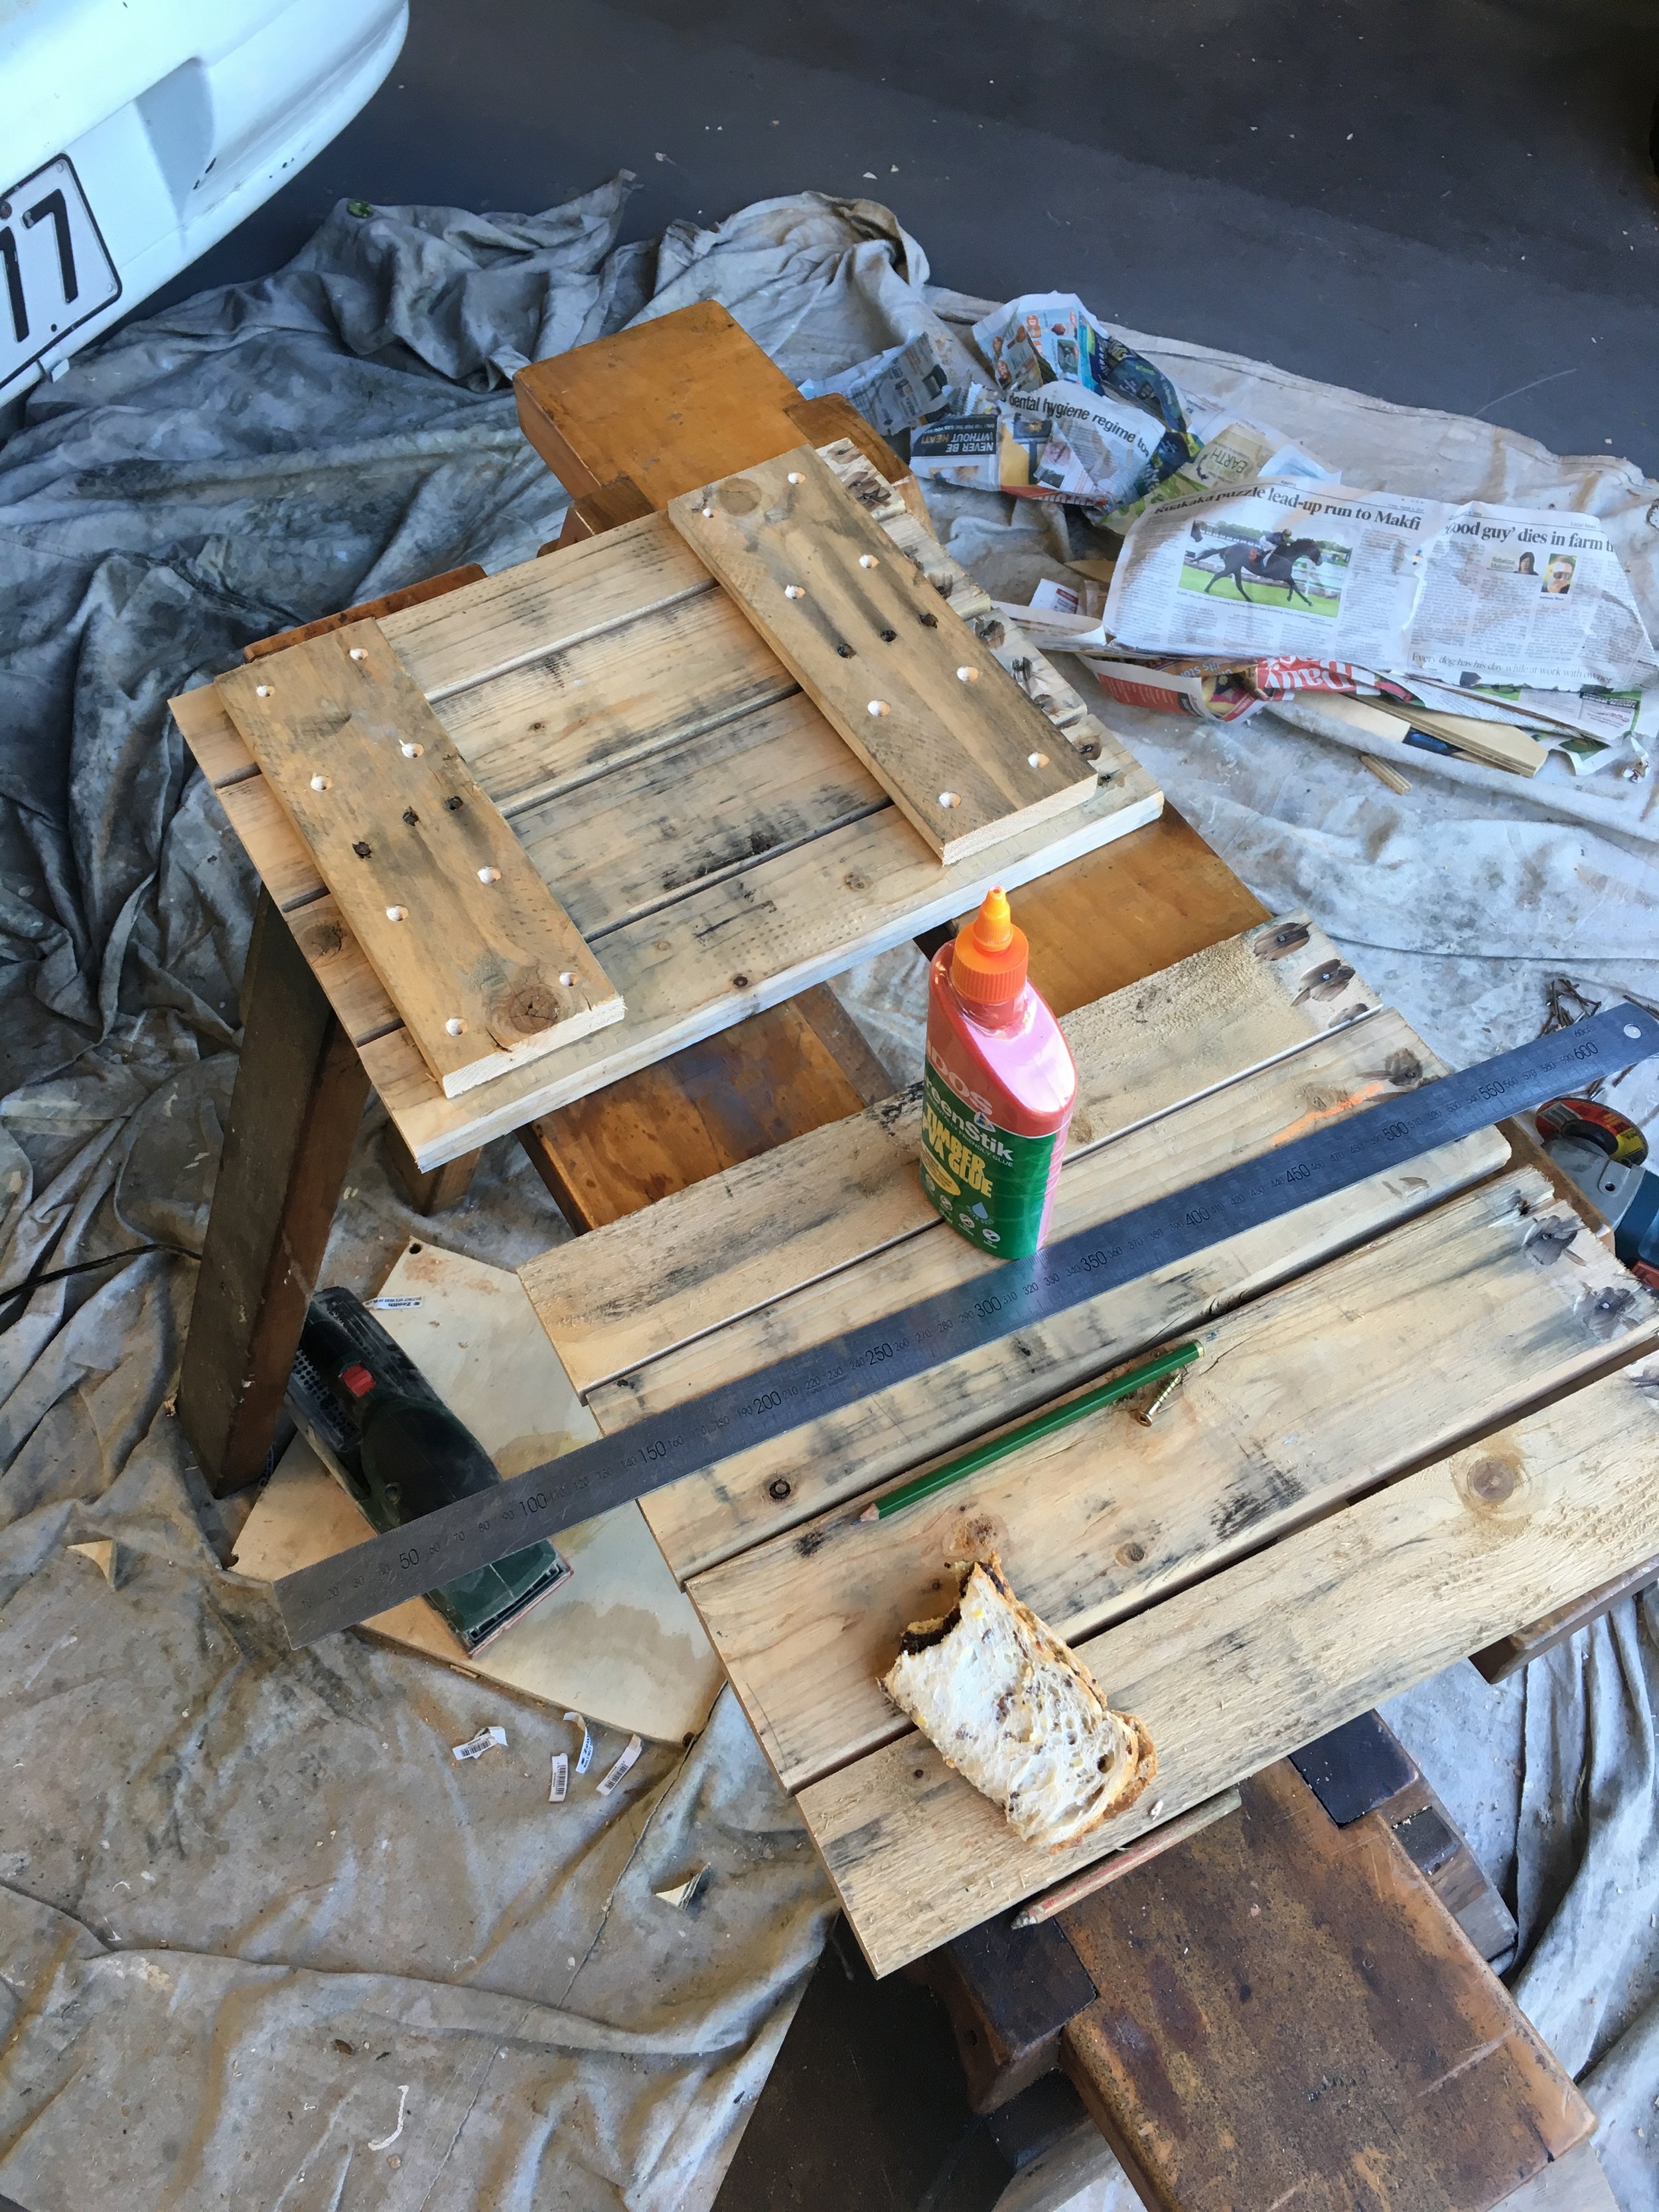
Step 4: Side, shelve, and backsplash templets
Step 5: Pre drill, Pre Counter Sink, glue, screw and assemble
Step 6: Dole bench top and Epoxy and clamp for 24 hrs
Step 7: Level and thickness bench top
Step 8: Fill and glue knots in Macrocarpa to preserve, and sand
Step 9: Apply three coast of Poly to water proof unit over 4 days
Step 10: Get hardware for back splash and lock in
Step 11: Mount bench top and secure to unit
Step 12: Cut and fit polished basin and sink tap
Step 13: Build pallet cabinet doors on hinge and magnetic clasp
Step 14: Drink a two cold beers
Step 15: Oil Macrocarpa for the real wood finish and feel







7. Roof Vent
Ventilation is an important necessity to a campervan, especially while cooking inside. I have already have installed a small solar powered fan light integrated vent but wanted to added opening and fresh air.
Step 1. Measure
Step 2. Drill into roof, set jig saw and cut
Step 3. Seal with clear sealant and touch-up for waterproof roof
8. Spice Rack
This is a critical part for full use of the vertical space on the kitchen top and adds a bit of the home feel.
Step 1. Recycle the hell out of it.
Step 2. Measure and sort out what your application will be needing.
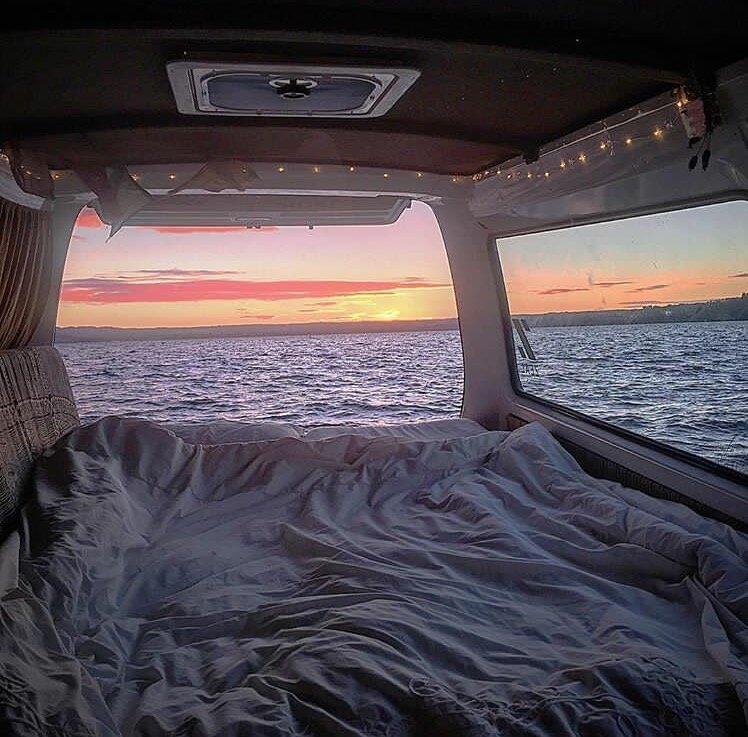
9. Now time to travel and enjoy all the long nights.
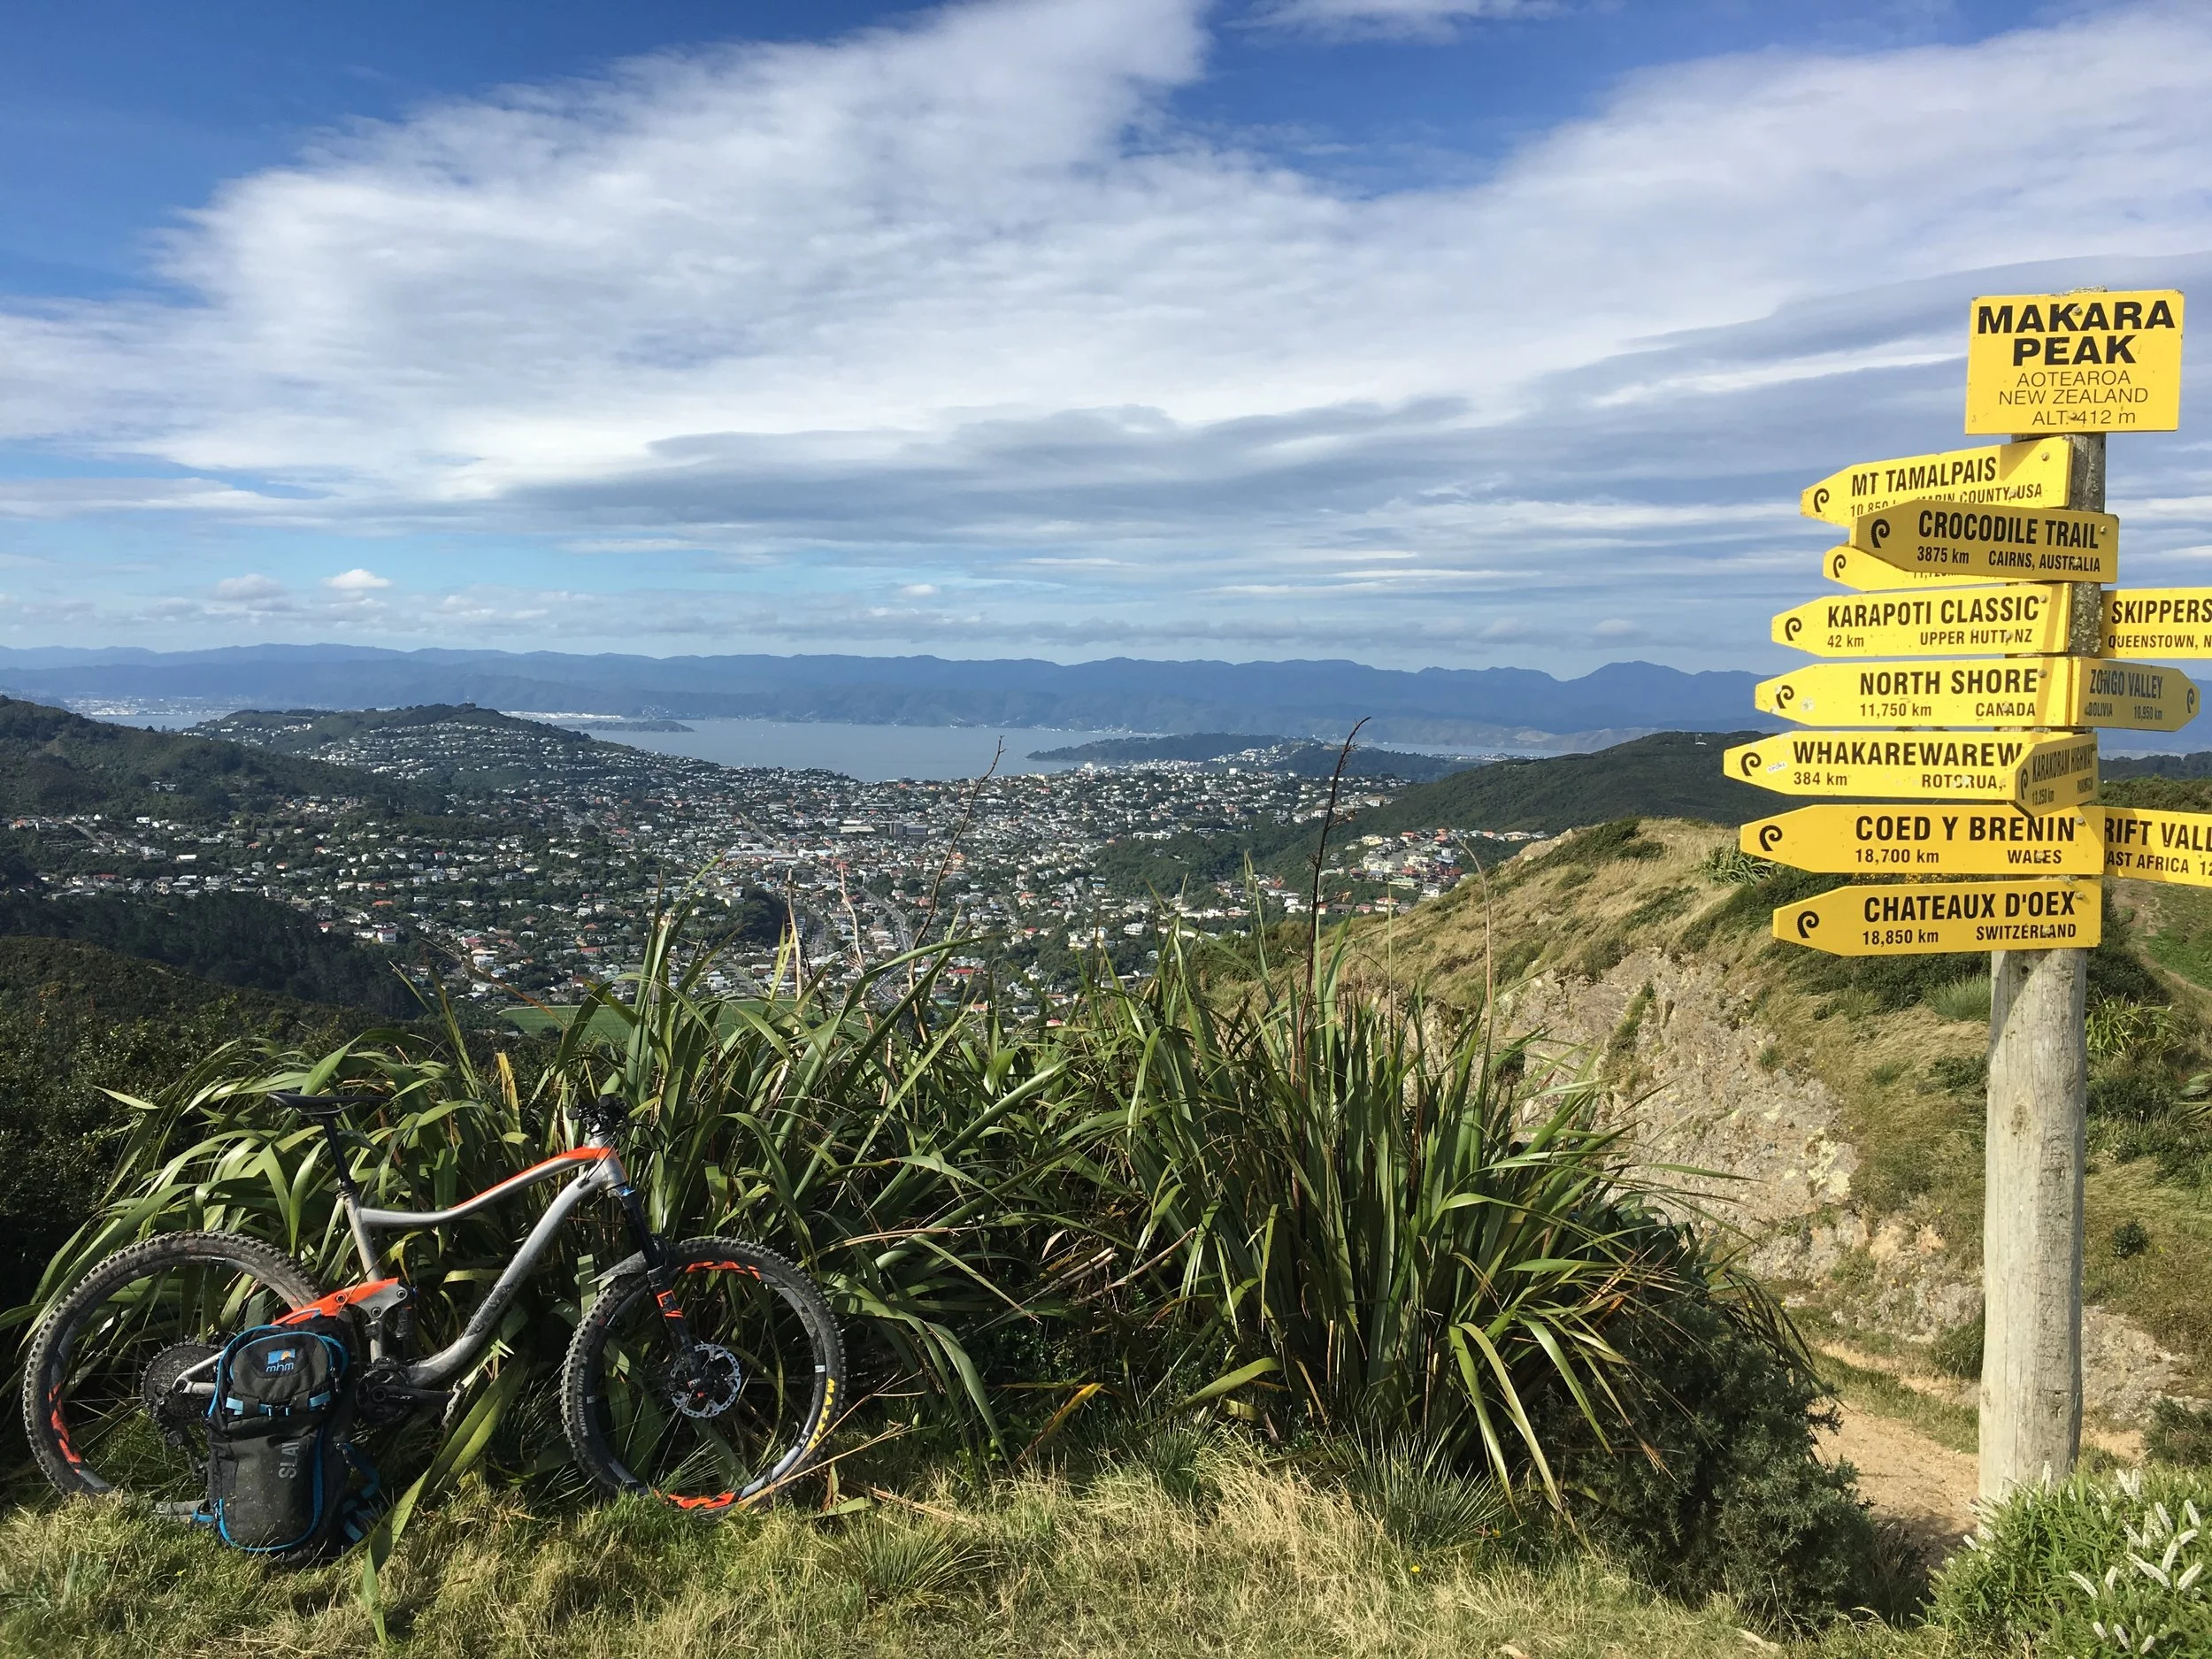
Getting out into the wild.


